How To Apply Gel Warp
How To Apply Gel Warp

1. Clean
Clean your nails with wood stick and prep pads. File to desired shape. Make sure your nails are completely free from moisture, dust and oil.
For best results prior to application, prep your nails by cleaning away oil and grime with provided alcohol cleansing pad. Next, shape, buff and elongate your nails with a nail file, nail buffer and provided wood cuticle pusher. Use second wipe to make sure nails are free from all dust, debris and moisture.

2. Pick
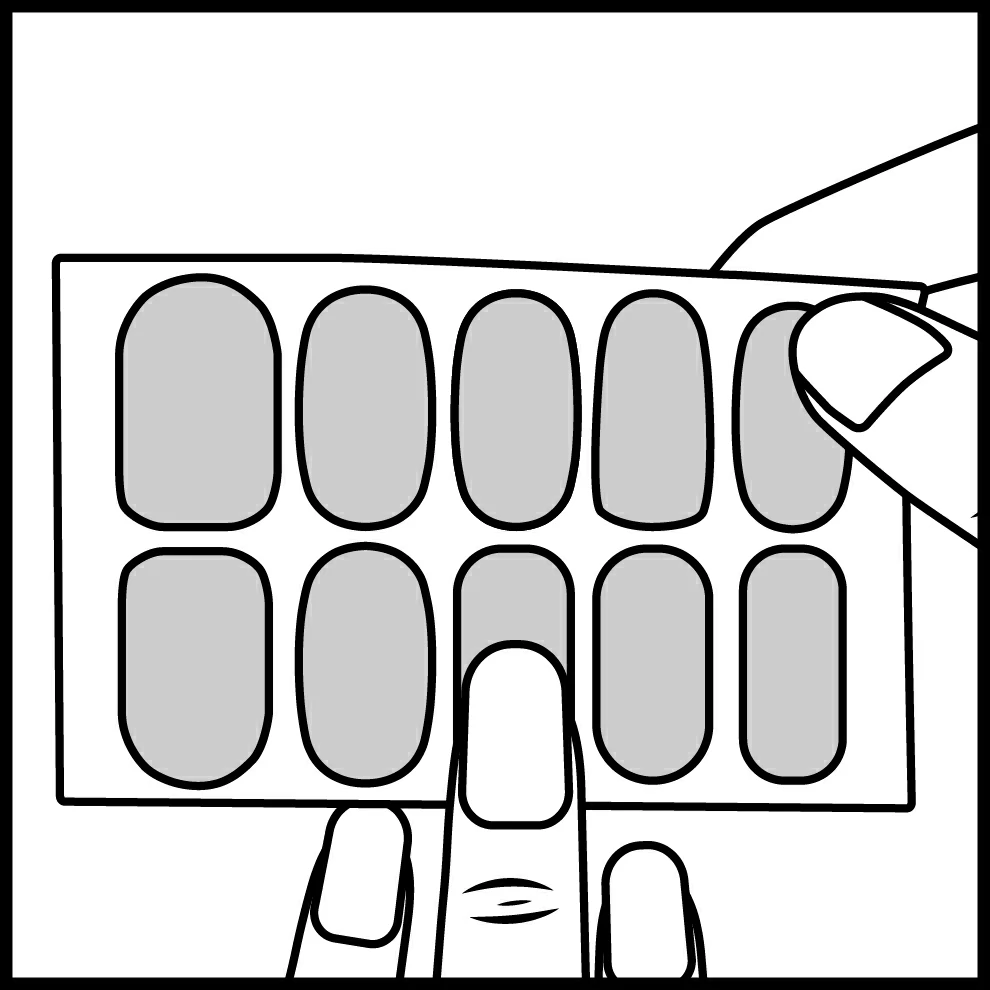
Select gel wrap size that best fits your nail from sheet. Gently lift nail wrap from sheet starting from edge.

3. Attach
Remove the protective film. Place wrap over the center of your nail, starting at cuticle line and pressing outward. Press down firmly from the center and side to side.
Do your best to avoid sticking the nail wrap to your skin as it will hinder the adhesive's effectiveness. It is best to leave a little space between your nail bed and the wrap to prevent lifting.

+ TIP
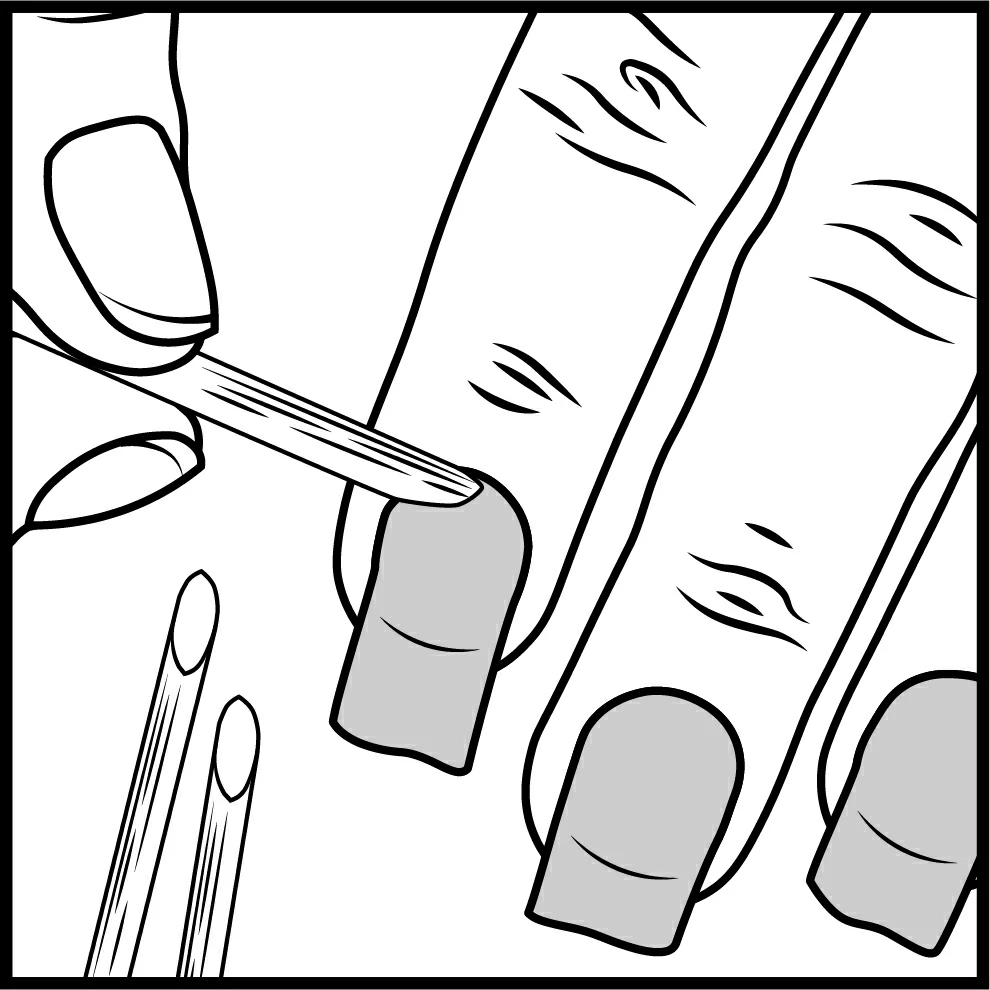
Using cuticle stick, press down on gel wrap to tightly seal all edge before filing.

4. File
Feel off excess wrap with white coarse surface of nail file in a downward motion. Shape nail with orange fine surface of nail file.

+ TIP
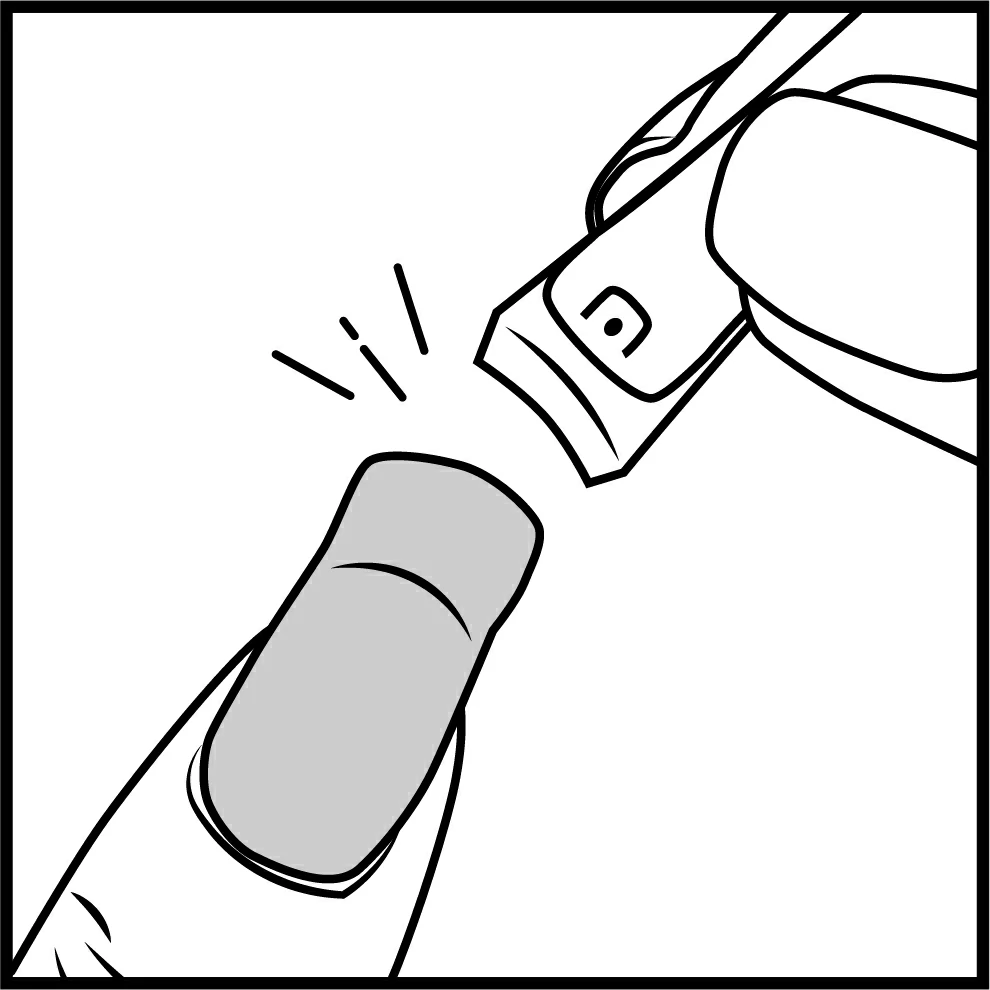
Trim excess wrap to fit your nails using nail clippers or scissors. Precisely shape nail using orange surface of nail file.

+ TIP
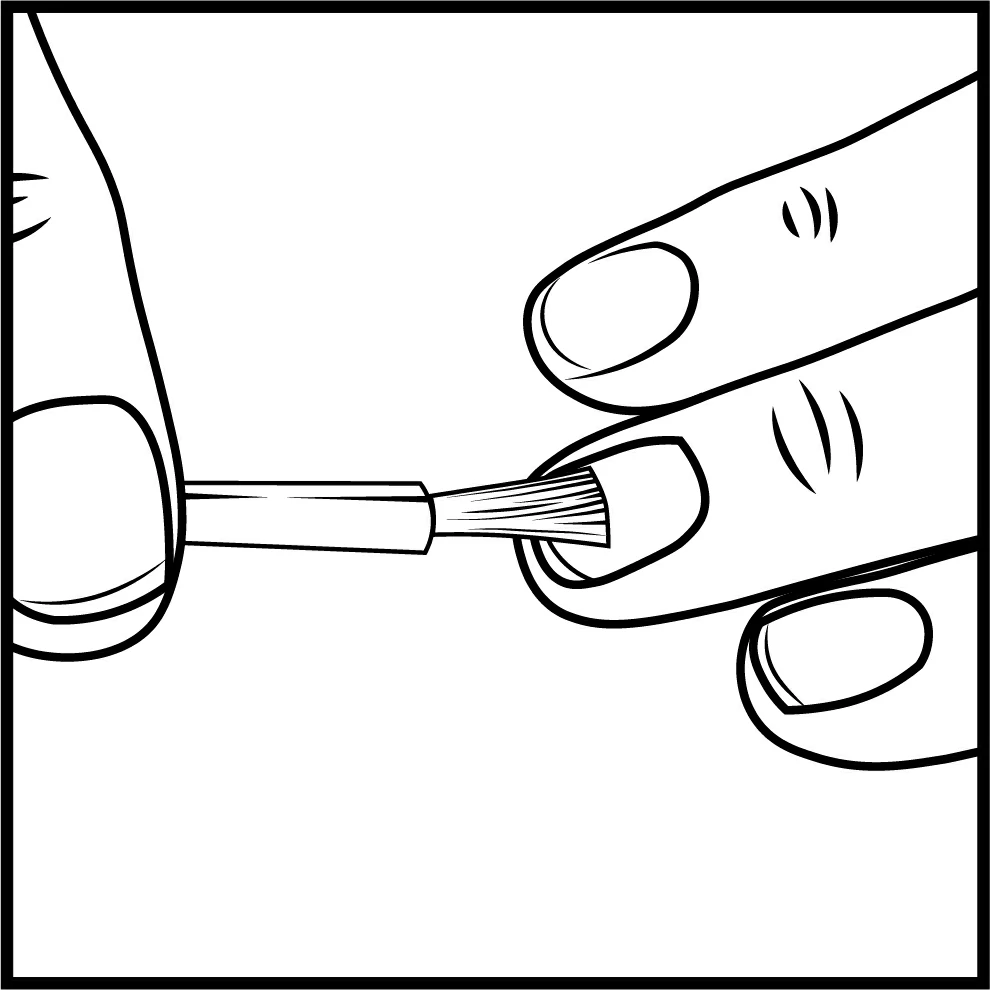
Top Coat or Top Gel can make the wrap last longer and gloss more.
Top Gel is required for UV lamp to cure.
